Getting Started
Watch a quick video that walks you through all these steps. If you are new to HubSpot follow their Get Started guides first to get familiar with the platform.
1Purchase and installation
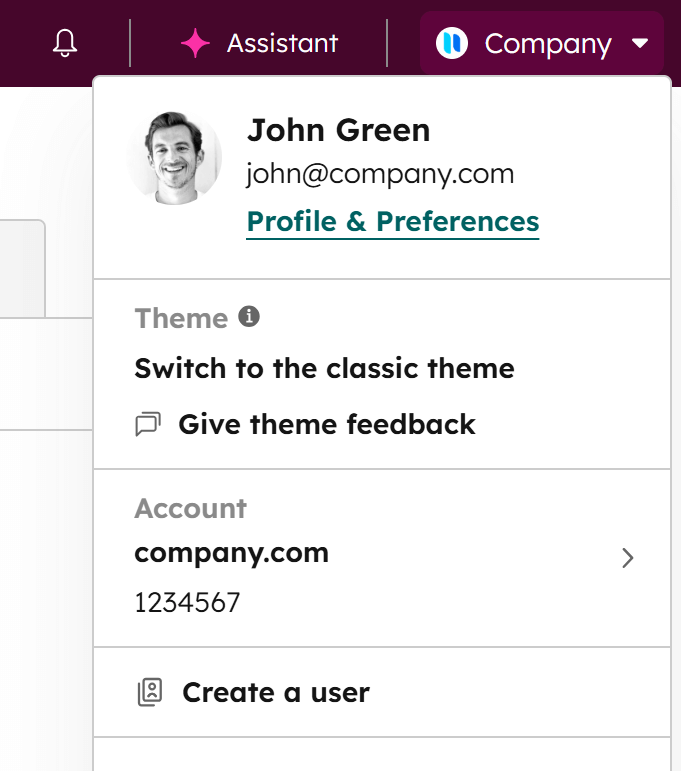
The theme installs into the active HubSpot account. Before purchasing, check the account name in the top-right corner to make sure it's the right one:
If you run into issues during installation, please contact HubSpot support directly, as this process is managed on their side.
2Create a child theme first — very important!
Themes installed from the HubSpot Templates Marketplace are not directly editable (they are read-only), ensuring you benefit from future updates and improvements. However, to customize or extend your theme, it's crucial to create a child theme first. This allows you to make changes without altering the original theme, while still receiving updates. A child theme is a copy of the parent theme that you can freely edit. Learn more about child themes.
This is how you can create a child theme (watch a quick video):
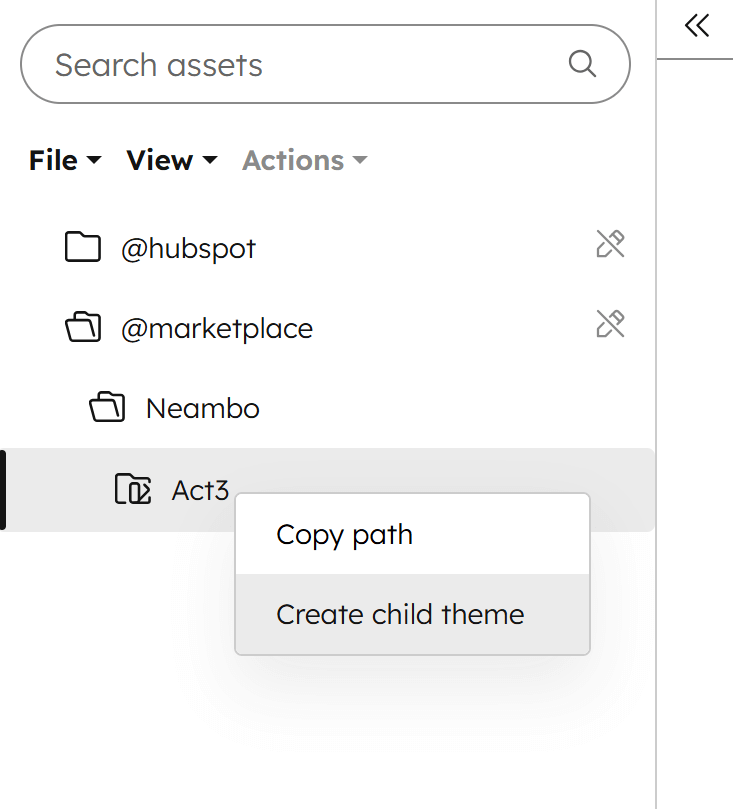
- Open the Design Manager and go to the theme folder:
@marketplace › Neambo › Act3 - Right-click on the Act3 folder, then Create child theme
- Give a recognizable name to your new theme (e.g.,
Act3-child)
Please note:
- We recommend keeping it in the root folder.
- No need to change anything under the Advanced options.
- It's important to use this newly created child theme for your website, not the original parent theme. This is why naming the child theme correctly from the start is important, as renaming the folder later can cause issues.
3Customization
Now that you have your theme installed, and your child theme ready, you can customize it by going to Settings › Content › Themes and selecting your child theme. To learn more about customizing your Act3, please follow our Theme settings guide.